Useful Image Analysis Macros In Fiji
Vignesh
Introduction
Fiji (Fiji Is Just ImageJ) is an Image J software specifically with plugins for scientific image analysis initially developed by Wayne Rasband while other additional developers also made significant contributions to the accessorial plugins that complement the main software.
Fiji has several custom-built plugins specifically tailored for image analysis. The software also allows users to write their own programs as macros which can be automated across large data sets. Here are some of the useful macros which I have written and curated.
Read and store multi-channel image files
Multi-channel images in each file (Example‘.tif’) can be automatically read, Z-projected and saved separately in a folder with the file’s name. This process can be automated for all the files under the parent folder. The slicing range for Z-projection as well as other changes such as adding colors from Look up tables can be made by editing the macro code provided. The macro can be run by just dragging or opening the macro file in Fiji and clicking the ‘Run’ button on the bottom left of the macro window.

An example ‘.tif’ file containing three channels opened in Fiji

Z-projections of all three channels in the file above

After running the macro separate folders are created for each file

All the three channels (in the example file) are stored separately in the folder
If the file is in ‘.lif’ format a slightly different version (which requires Bio-Formats macro extension) of the macro code can be used to automatically read, z-project multi-channel files and store each channel separately for each image file in the series. This example code assumes two channels, but more channels can be just added to the code depending on the requirement.

An example ‘.lif’ file containing 3 image series with two channels each
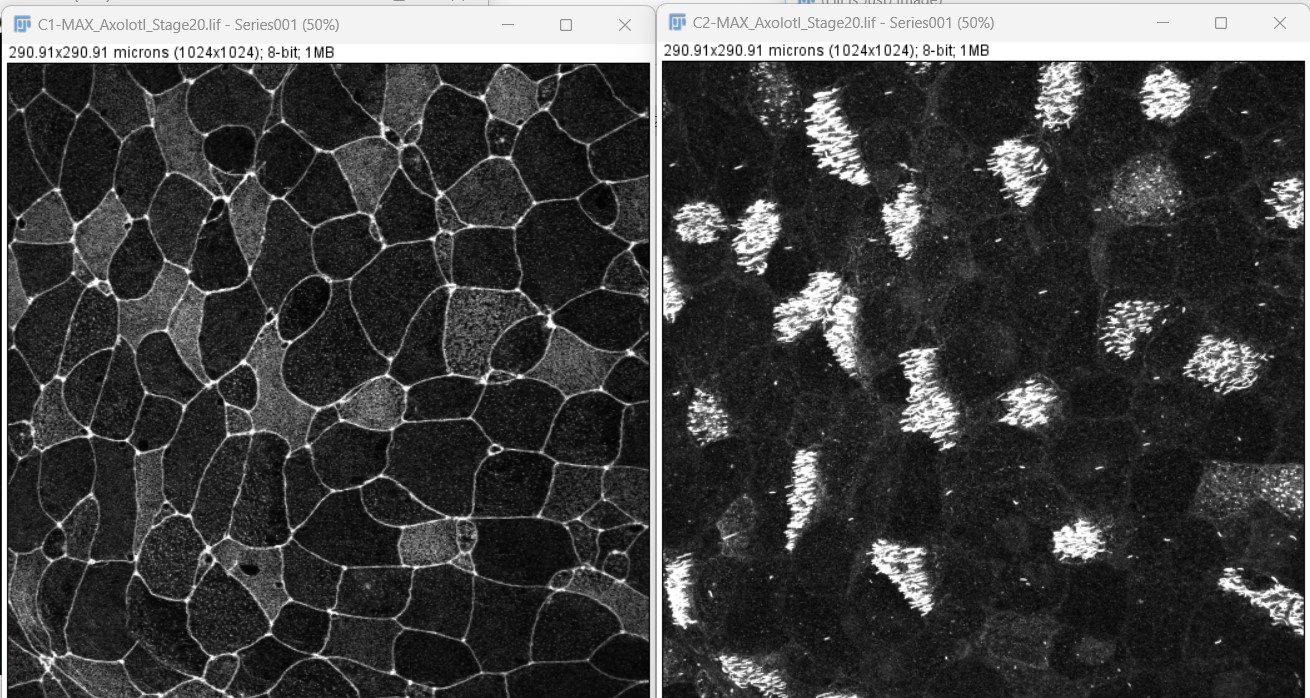
Z-projections of two channels for the first image in the series(image above) are shown

Running the macro code automatically saves the Z-projections of two channels for each image in the series in separate folders as shown
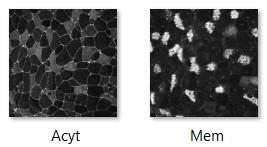
Saved Z-projections of two channels for the first image in the series are shown
Applying scale bars in batch
Applying scale bars to images often require multiple steps: 1)Setting the scale 2)Setting the properties of the scale bar 3)’Flattening’ the image (skipping the step does not burn the scale bar onto the image). If scale bars are to be added to multiple images additional steps of converting images into the stack, applying scale bars to all the images in the stacks, and then saving the stack to image sequences. These steps can be tedious and time consuming especially when dealing with lots of images. Running the custom written scale bar macro applies the scale bar with specified properties to all the images in the folder in a single click. This hack will be very useful especially when scale bars are to be added to large number of images. The scale bar macro can be run in Fiji by clicking the first image in the folder.
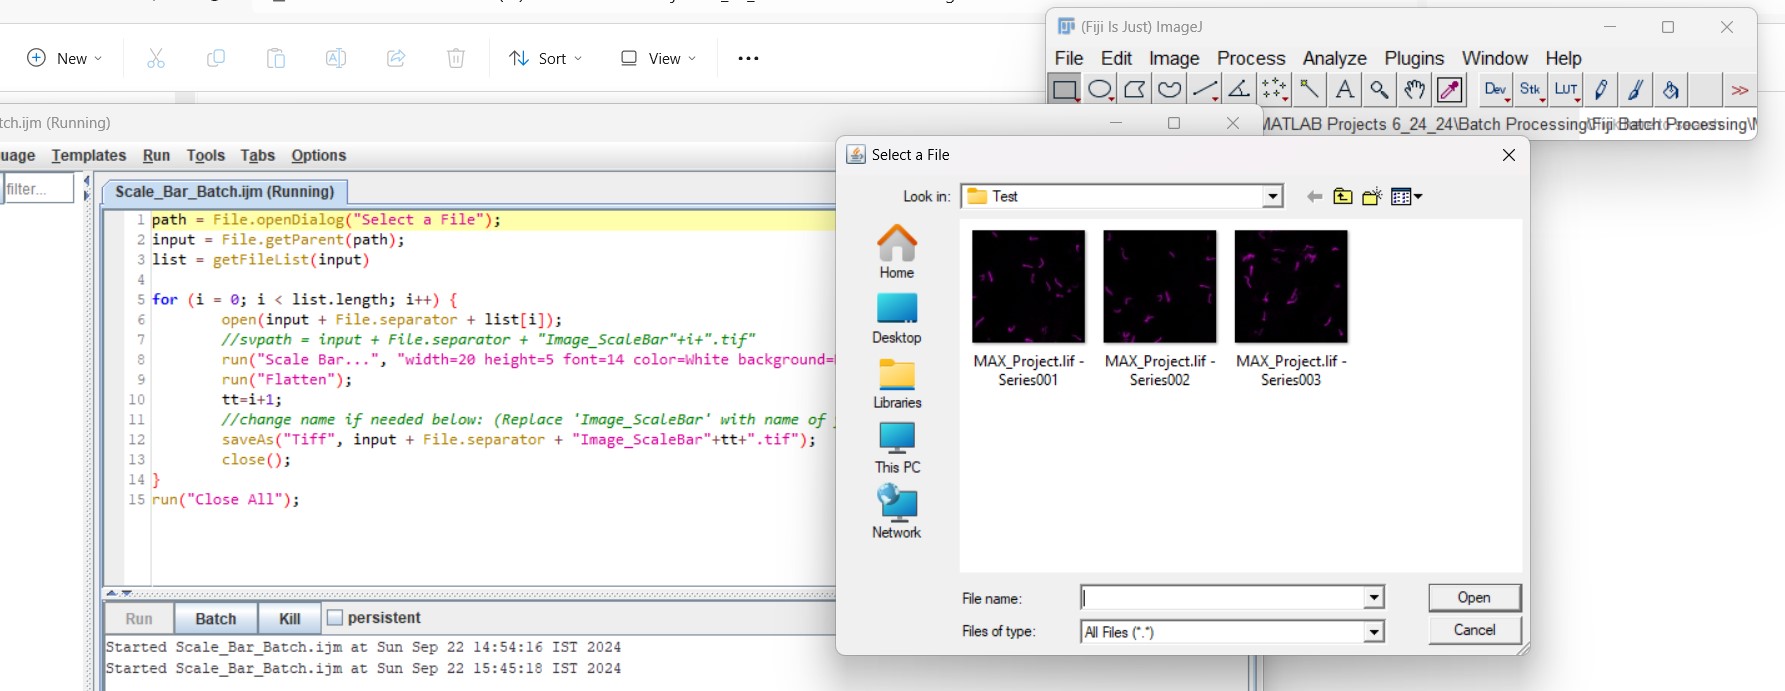
Three example images to which the scale bars needed to be applied are shown
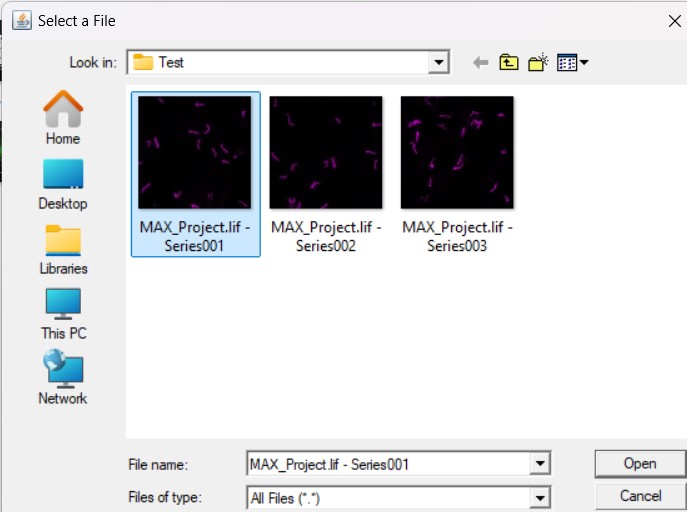
In order to apply scale bars to all images in the folder, the first image in the folder is selected after running the macro code

After the macro has run successfully the new images with scale bars are saved within the same folder in the order of the original images
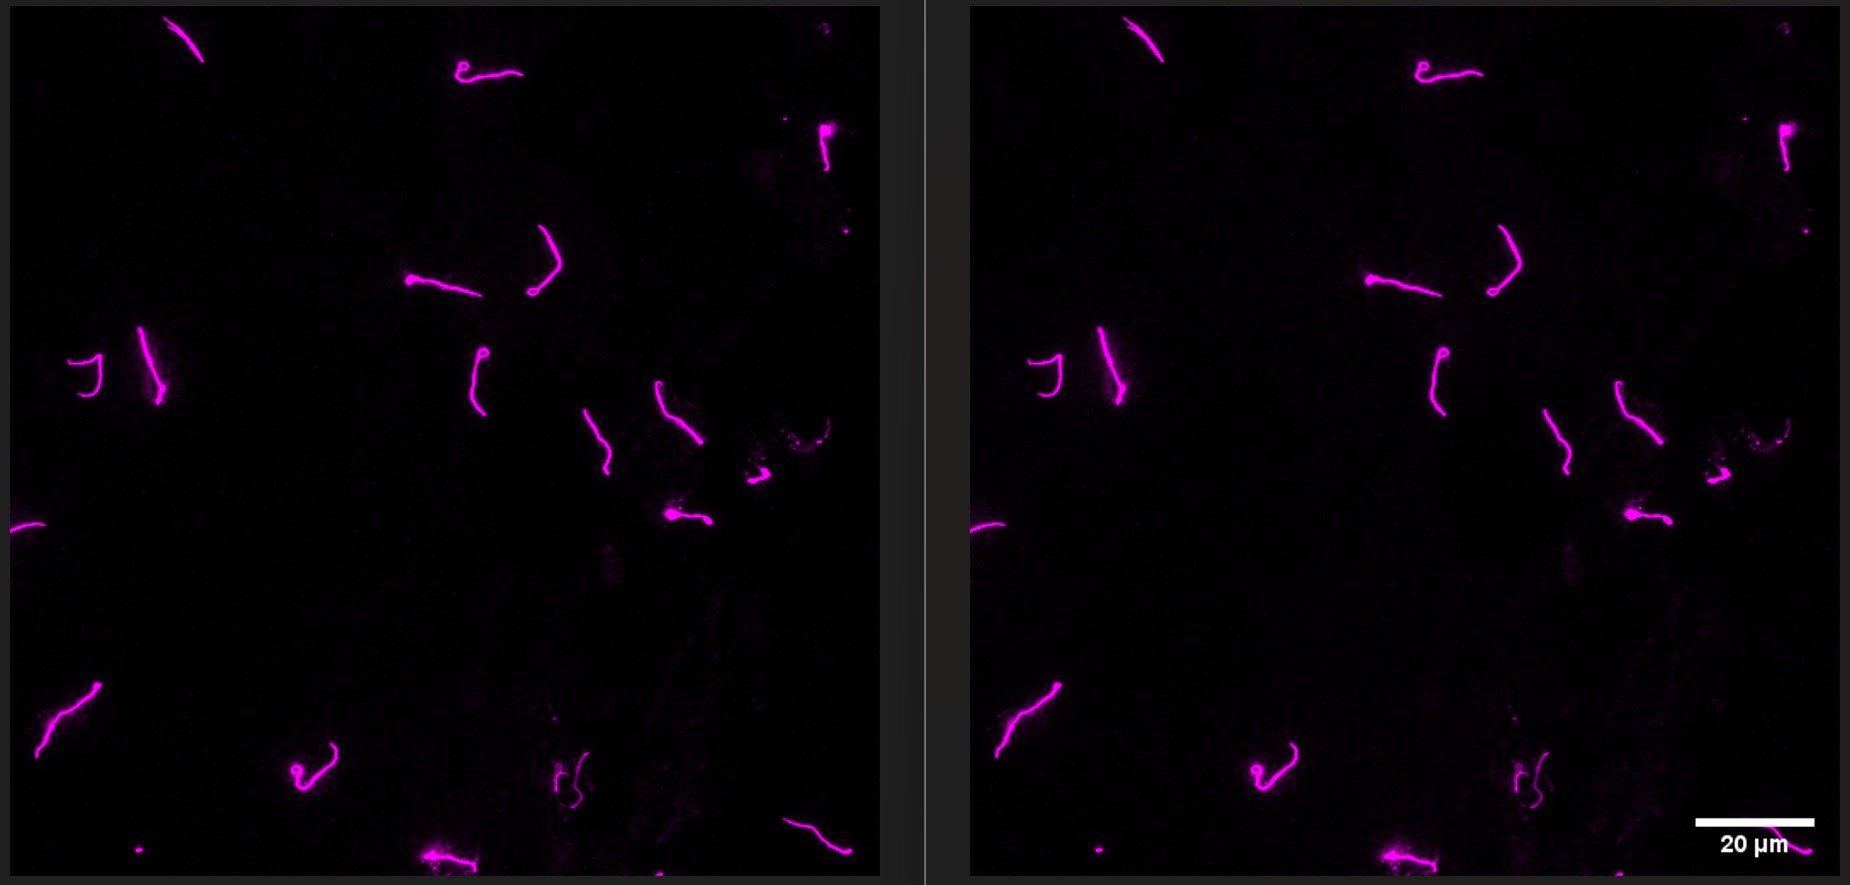
An example image showing before (left) and after (right) buring the scale bar